ALCF Polaris
This section describes how to run DFAnalyzer on ALCF Polaris.
Make sure you already did the necessary steps to build the dfanalyzer here.
Warning
All the steps below should be run in the Polaris login node!
Logging in to Polaris Login Node
ssh <username>@polaris.alcf.anl.gov # and type password from MobilePass/other auth
Note
We recommend you to use VSCode to connect to the Polaris login node as it supports opening Jupyter Notebook and do port forwarding natively
Initializing Dask Configurations
cd <dftracer>/dfanalyzer/dask/conf
./install_dask_env.sh
Note
This will create new directory $HOME/.dftracer/ with files: $HOME/.dftracer/configuration.sh and $HOME/.dftracer/configuration.yaml
Changing $HOME/.dftracer/configuration.yaml
cd $HOME/.dftracer
<EDITOR> configuration.yaml
By default, $HOME/.dftracer/configuration.yaml will contain this entry
app: /usr/WS2/haridev/dftracer
env: ${DFTRACER_APP}/venv
Please modify the app your cloned <dftracer> directory and env to Python virtual environment that you used to install dfanalyzer code here.
Specifically, for ALCF Polaris, we should add one more entry to $HOME/.dftracer/configuration.yaml
account: <your project allocation account>
Note
This account will be used to reserve compute node for Dask distributed workers
Changing polaris.yaml config
cd <dftracer>/dfanalyzer/dask/conf
<EDITOR> polaris.yaml
Note
Please change the polaris.yaml configuration accordingly based on your needs. For example, if you need more nodes, you can change num_nodes under job key or maybe change wall_time_min, etc. For more information regarding ALCF Polaris queue, please look here at Running Jobs on Polaris
Executing scheduler
cd <dftracer>/dfanalyzer/dask/scripts
./start_dask_distributed.sh
Note
Wait for several seconds because this script will try to reserve the compute nodes for you using PBS Job Scheduler
Warning
If you got error with message “port” is used, you may try changing the port in <dftracer/dfanalyzer/dask/conf/polaris.yaml or maybe checking whether other scheduler is running using ps -ef | grep dask to get the process id (PID) and kill the process using kill -9 <pid>
If it runs successfully, you should message below
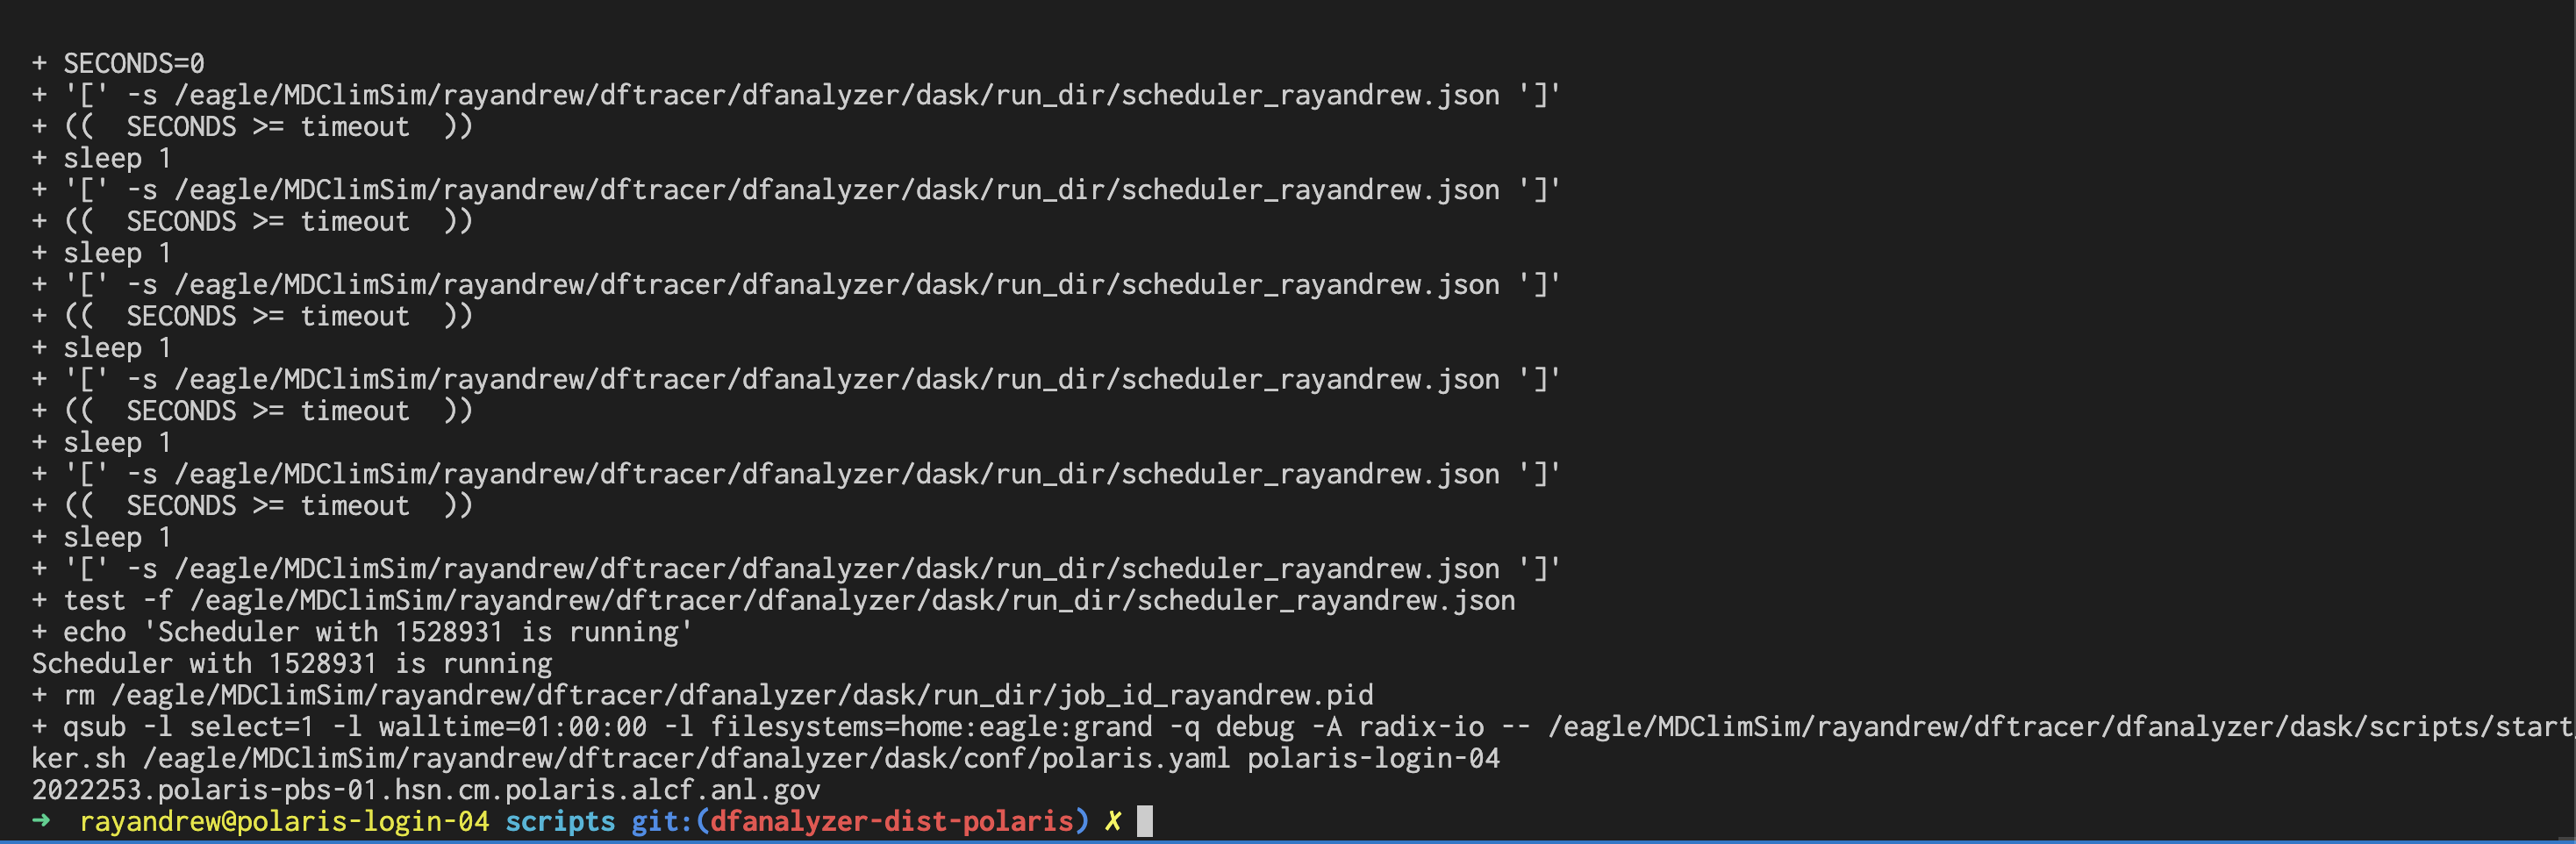
Note
Please check the file <dftracer>/dfanalyzer/dask/logs/worker_<jobid>.log in case there are some problems when running the workers on compute node
Forwarding the Port
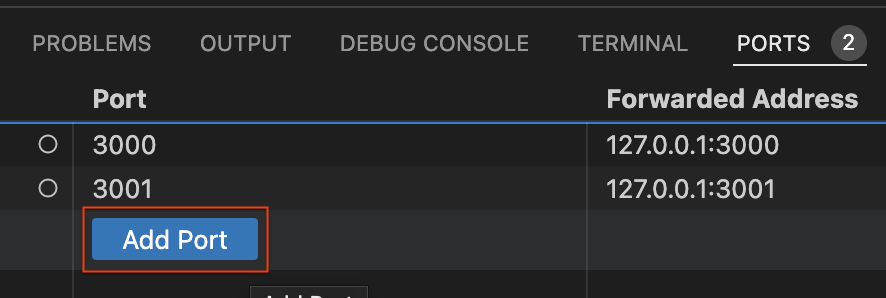
We recommend you running notebook inside VSCode because it supports port forwarding natively. In the VSCode, navigate to the bottom bar (where the terminal is). Now, click on the PORTS tab as you can see in below screenshot

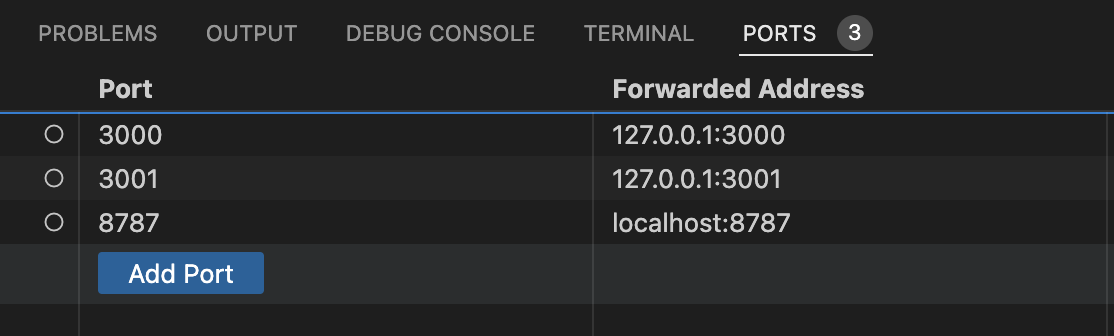
Then, click Add Port below
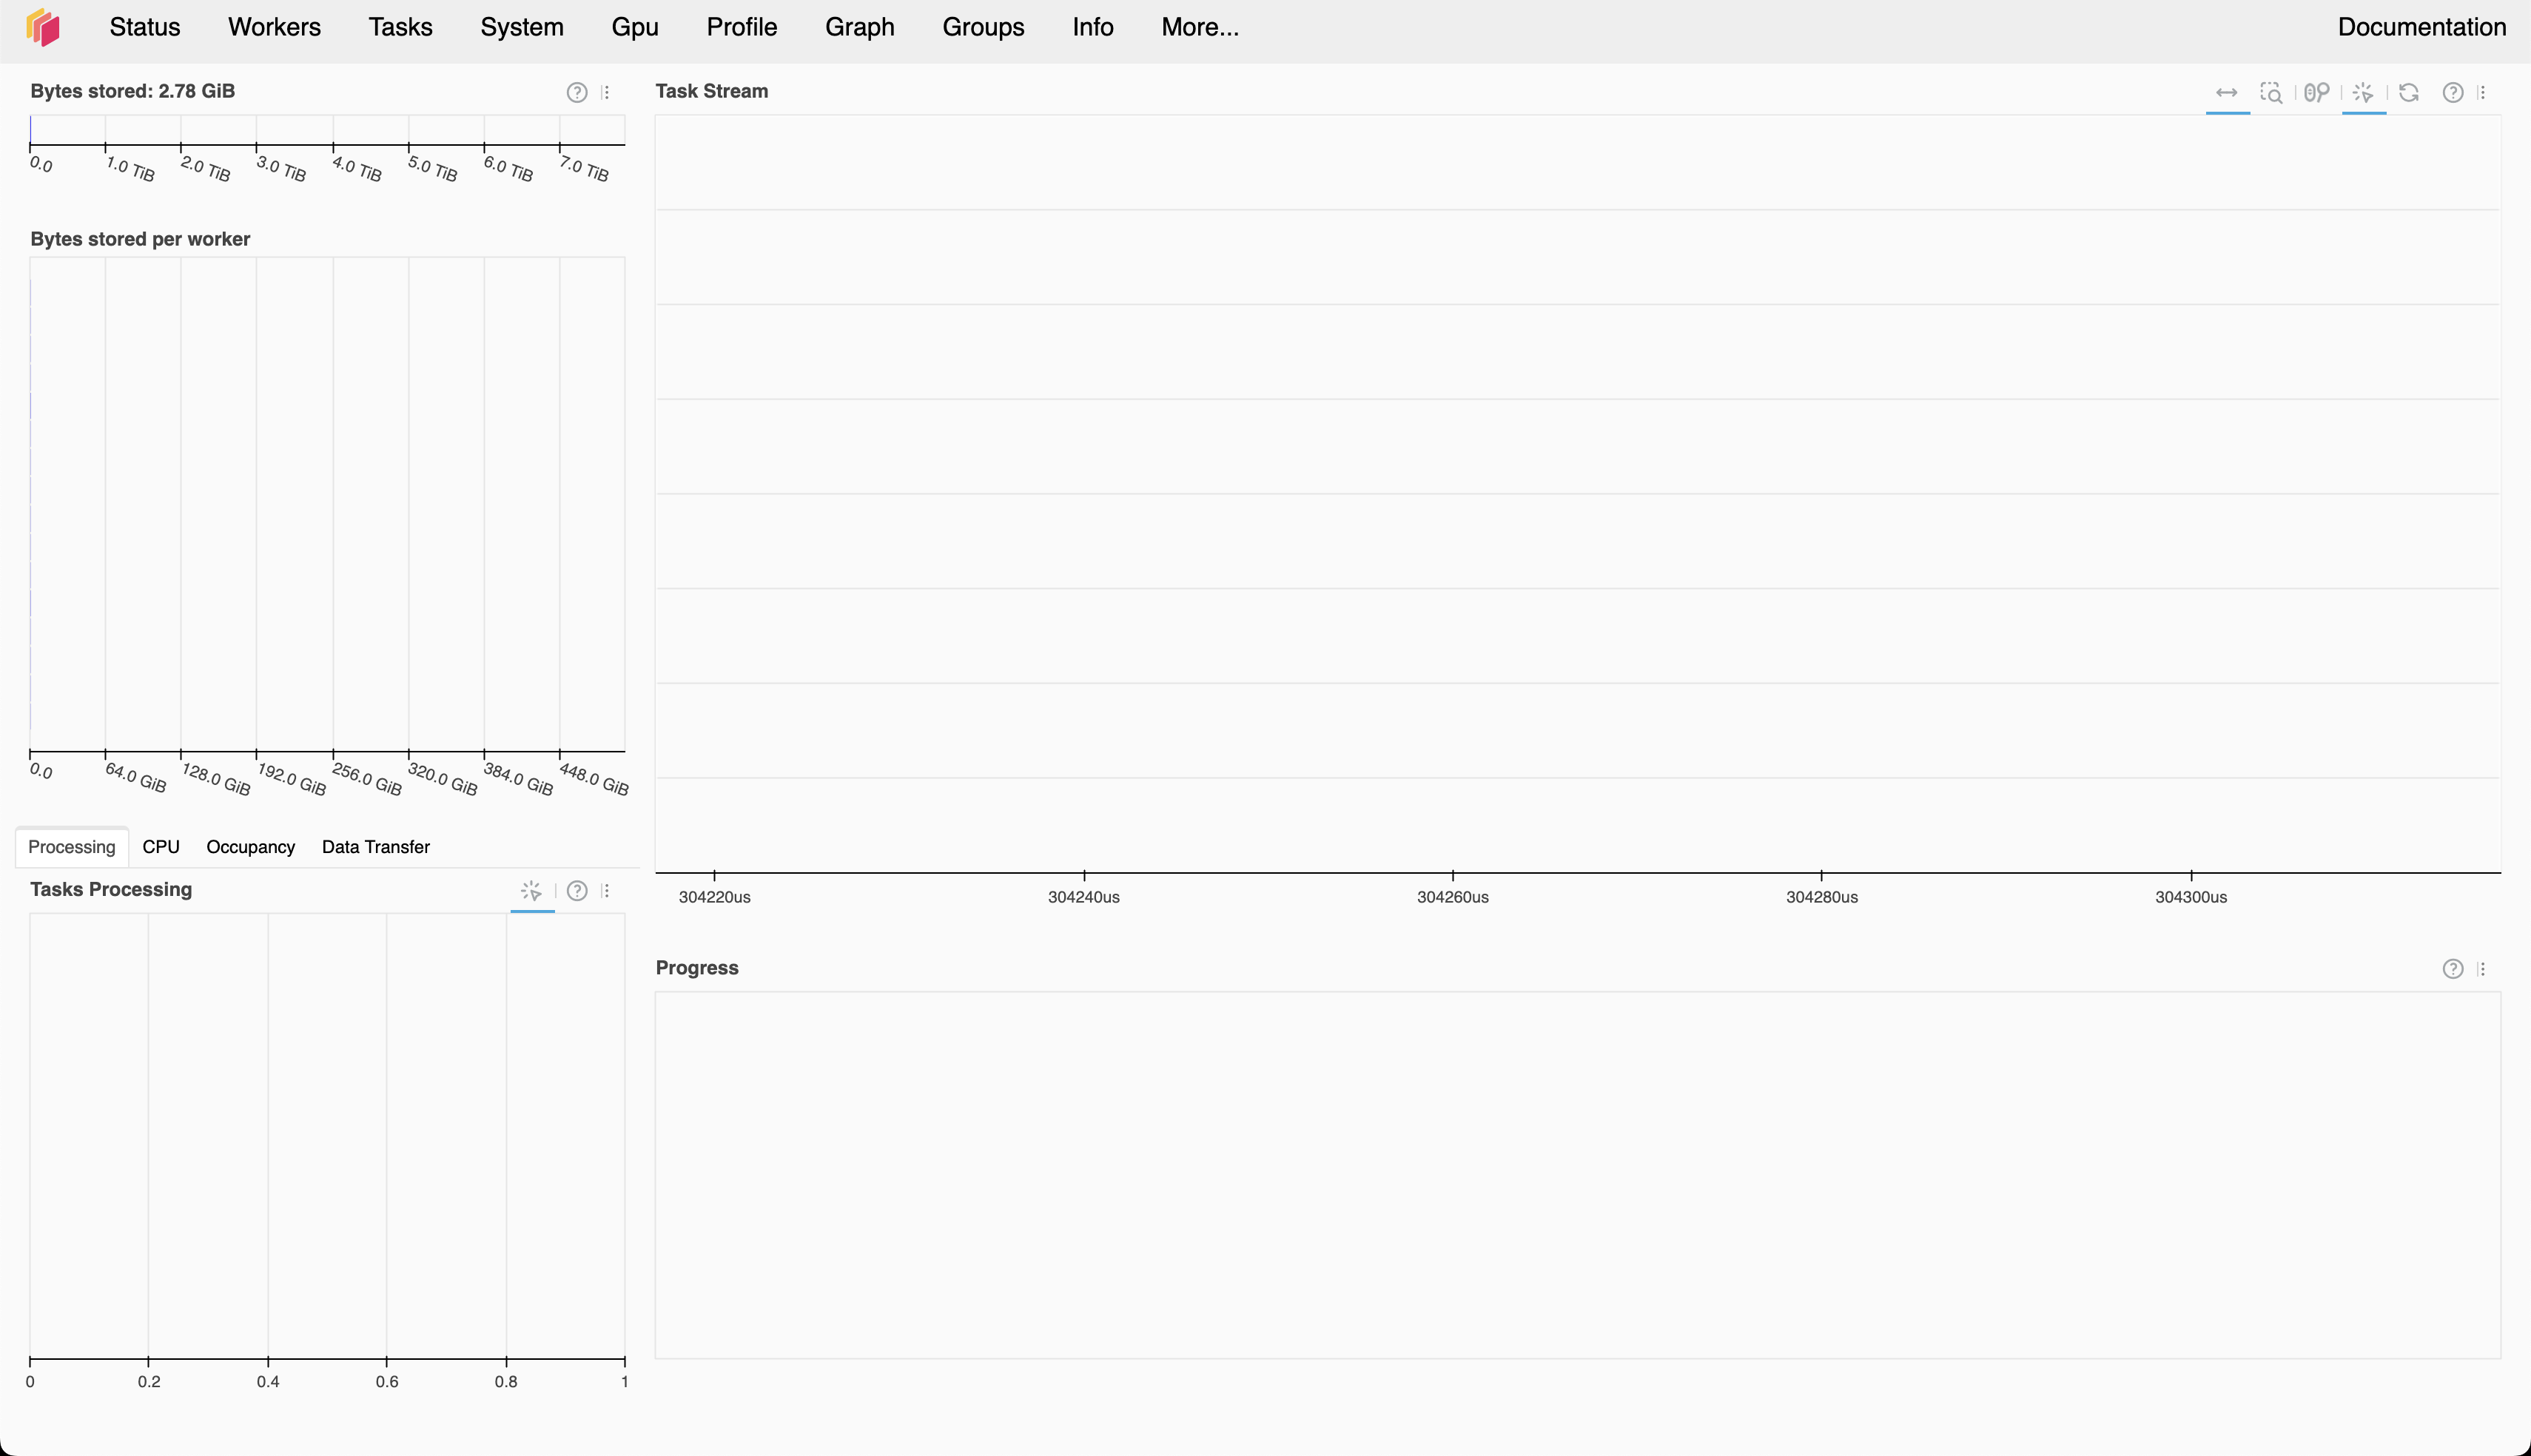
to add new port and type 8787 since that port is used as Dask monitoring webpage. If you type it correctly, you should show the port is added as new entry
Now, try connecting to http://localhost:8787 and, voila, you will see the Dask scheduler monitoring!
Opening Notebook File
In your VSCode, navigate to
<dftracer>/examples/dfanalyzer/dfanalyzer-distributed.ipynb
And just run each cells as usual.
Note
Please use this as the starting point to analyze your traces. Feel free to copy and adjust it if needed!
Stopping Dask Distributed Workers
cd <dftracer>/dfanalyzer/dask/scripts
./stop_dask_distributed.sh
Note
Wait for several seconds because this script will try to kill the workers and deallocate the compute nodes
Tips and Tricks
Add additional scripts to be executed in compute node
Sometimes we need to execute scripts before executing worker, e.g. setup additional environment variables such as adding
LD_LIBRARY_PATHor other variables. For this purpose,dftracersupports this by editing$HOME/.dftracer/configuration.sh.<EDITOR> $HOME/.dftracer/configuration.sh # # add new line at the end of the file # e.g. # export LD_LIBRARY_PATH=/opt/cray/libfabric/1.15.2.0/lib64:${LD_LIBRARY_PATH}